Hubstudio
Less than 1 minute
IPFLY configuration tutorial in Hubstudio
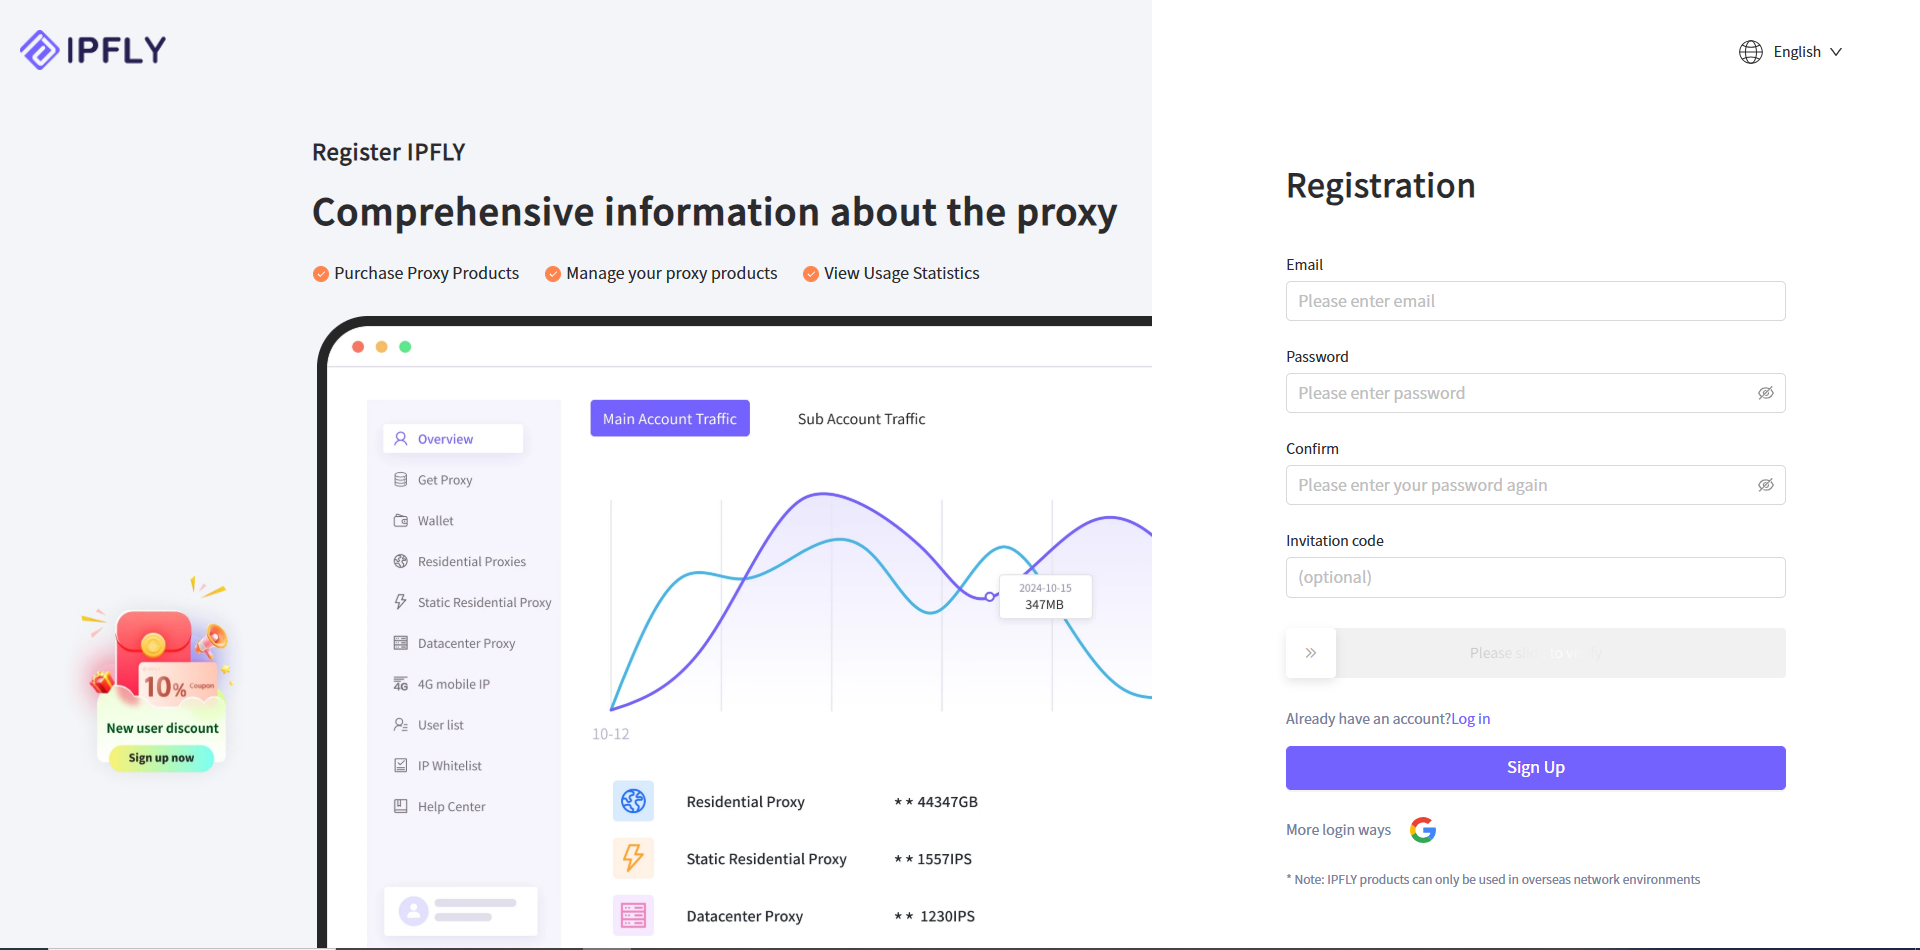
- Go to the IPFLY official website and register an account
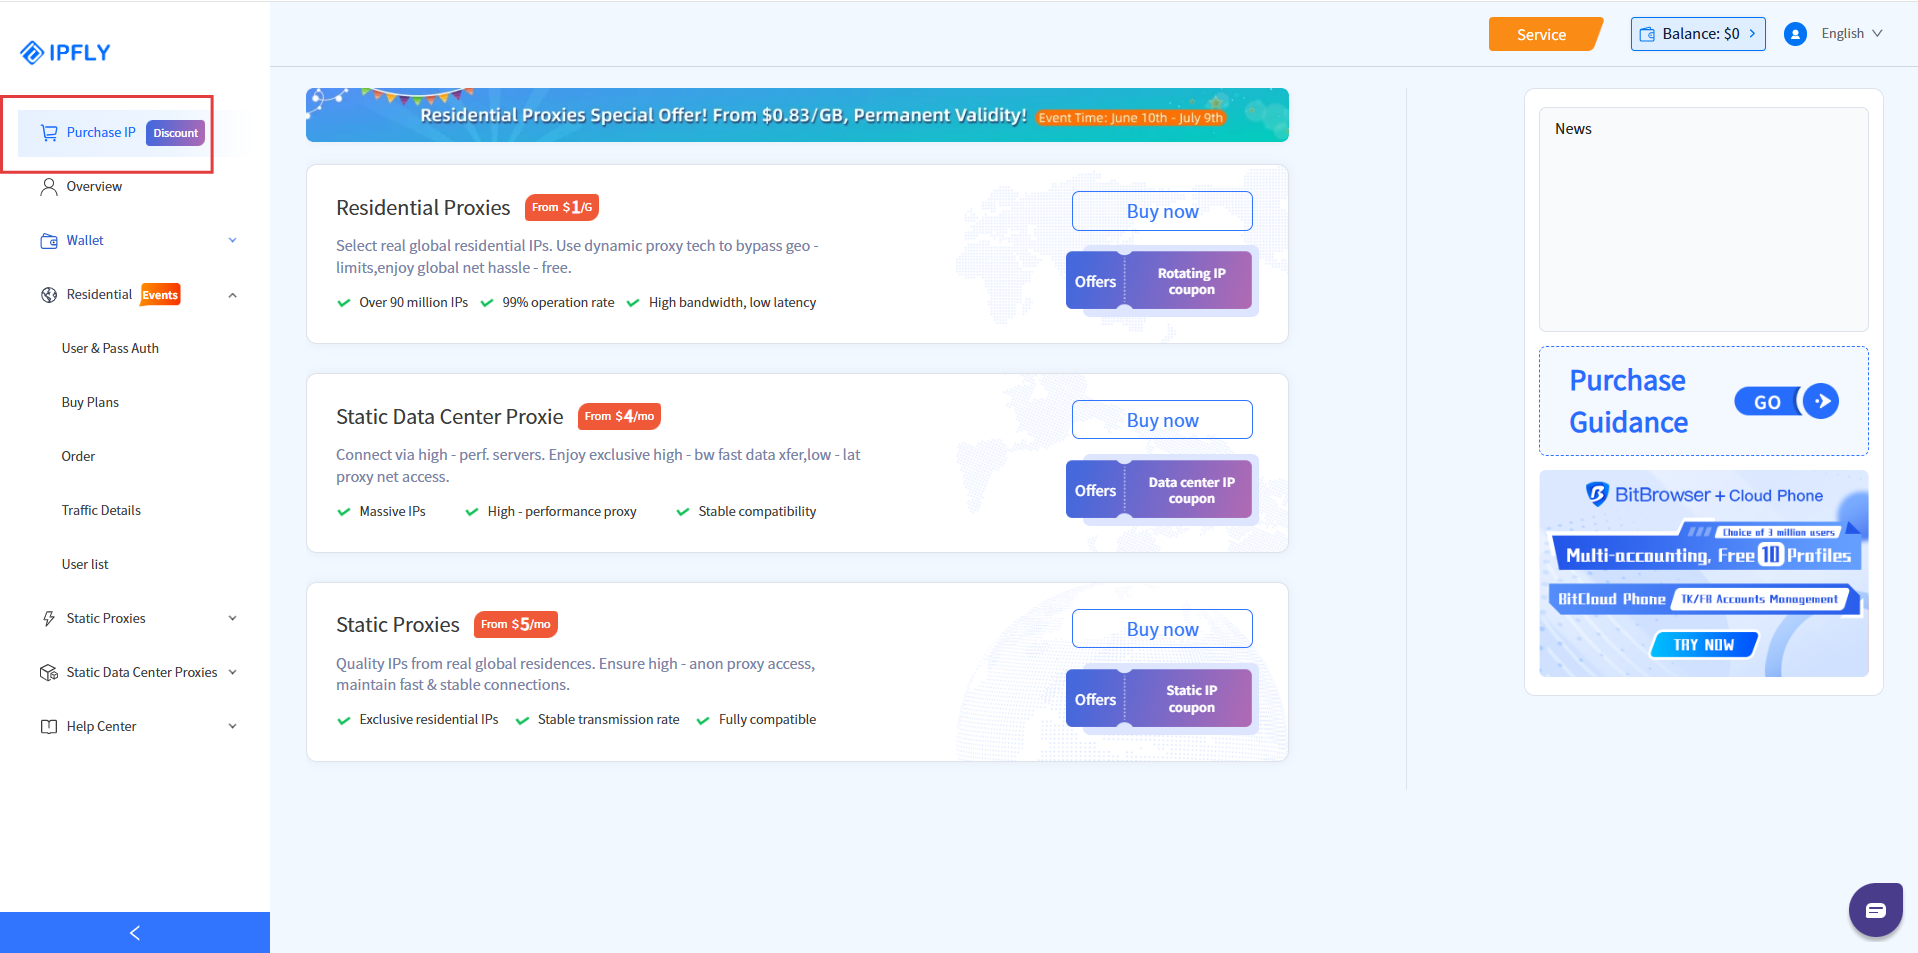
- Click the left menu bar -> "Purchase IP" and select the required agent type
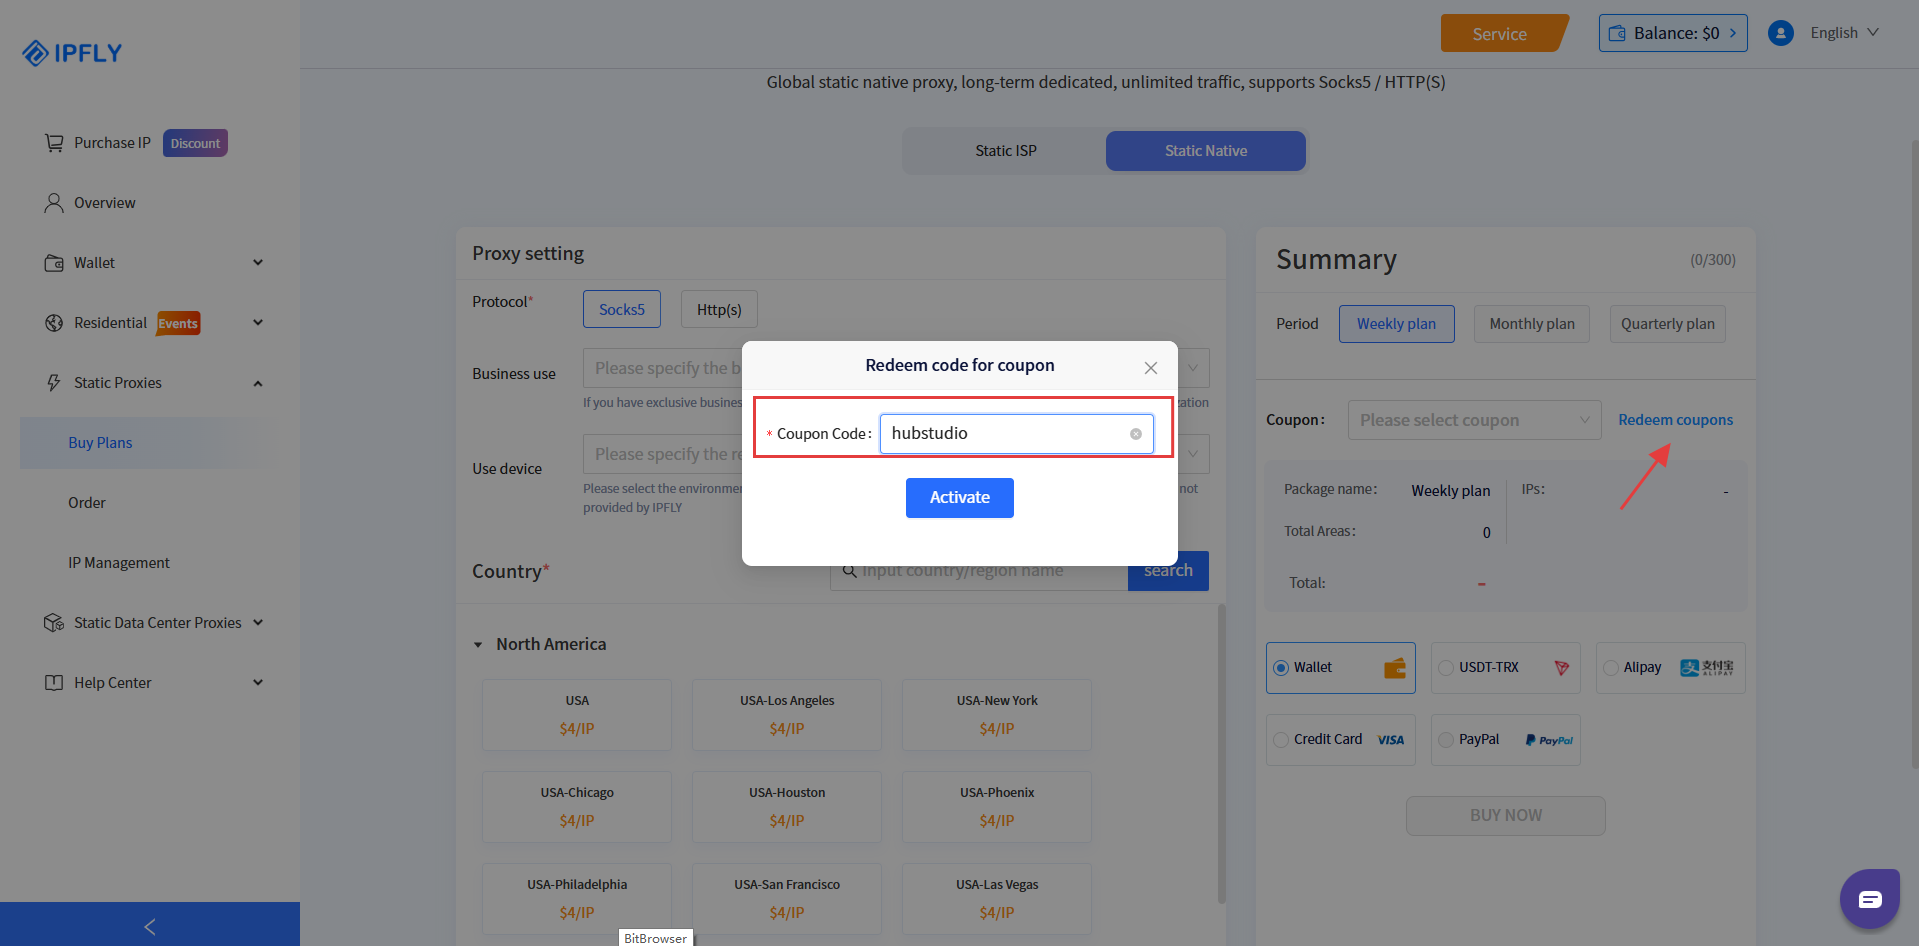
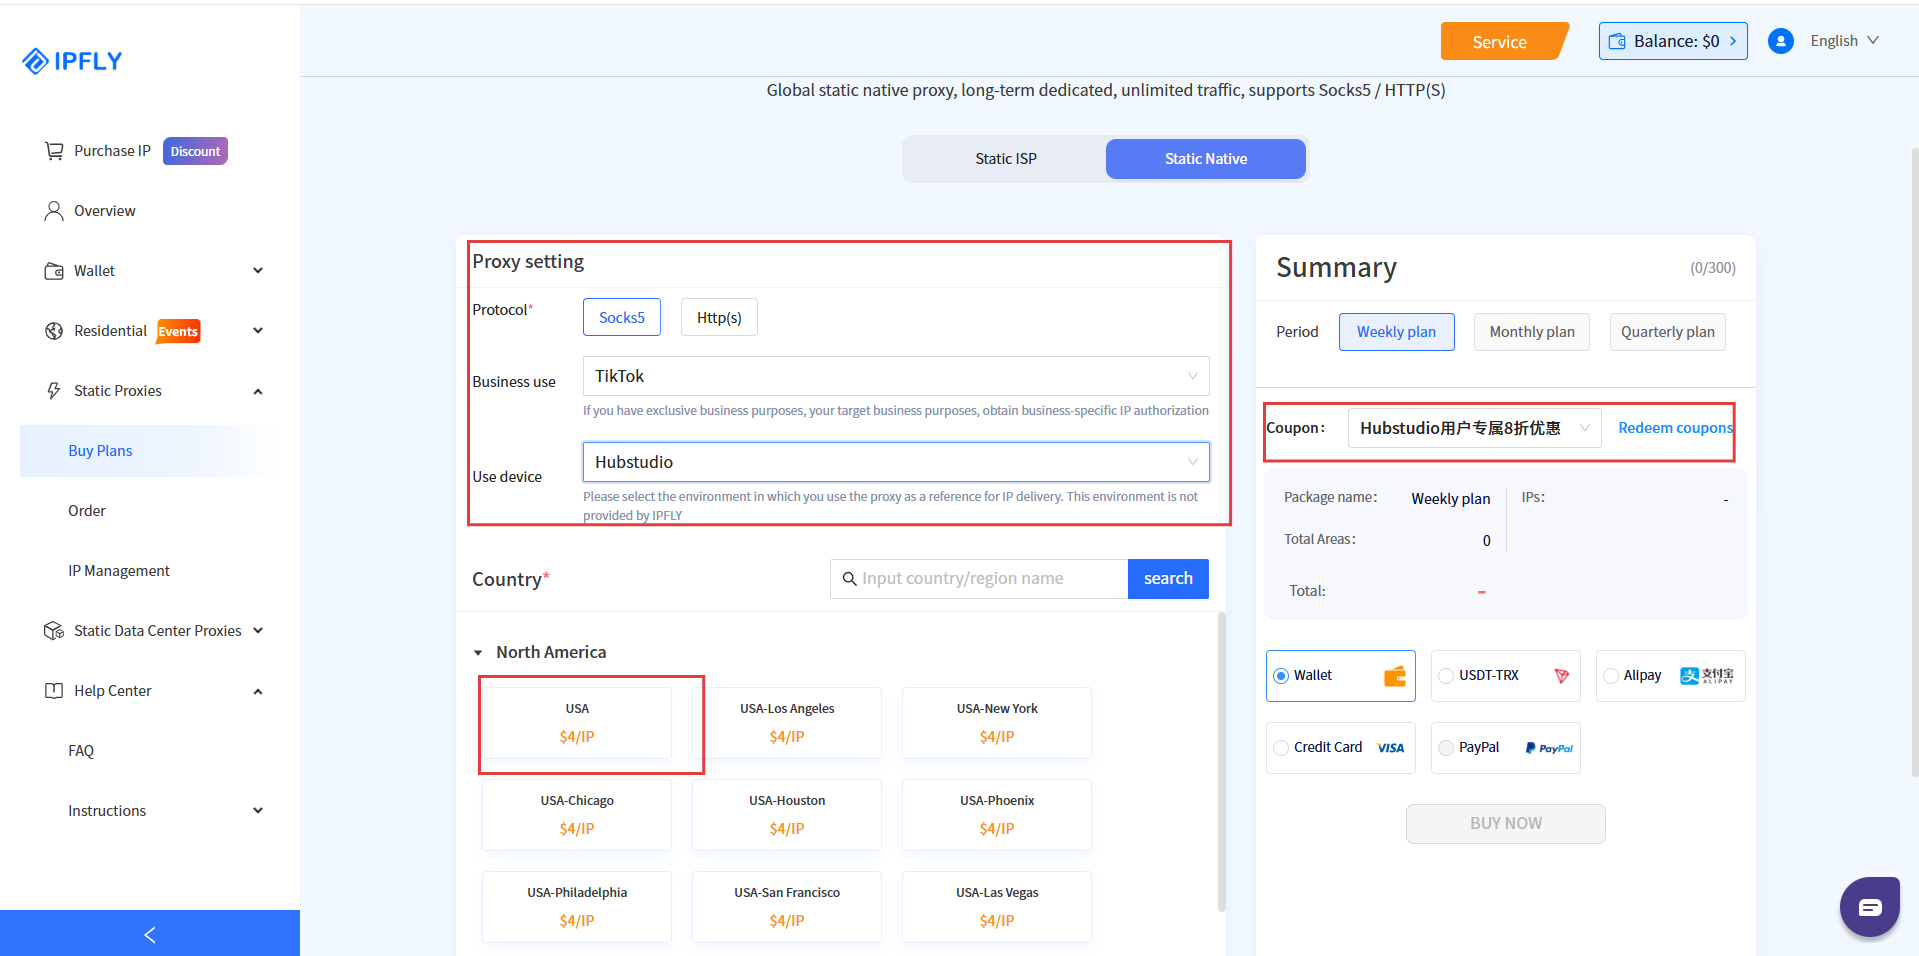
- Take Static Native IP as an example, fill in the relevant information of "Proxy Settings", and then select the country you need. When purchasing, redeem the 20% discount for Hubstudio users (discount code: hubstudio)
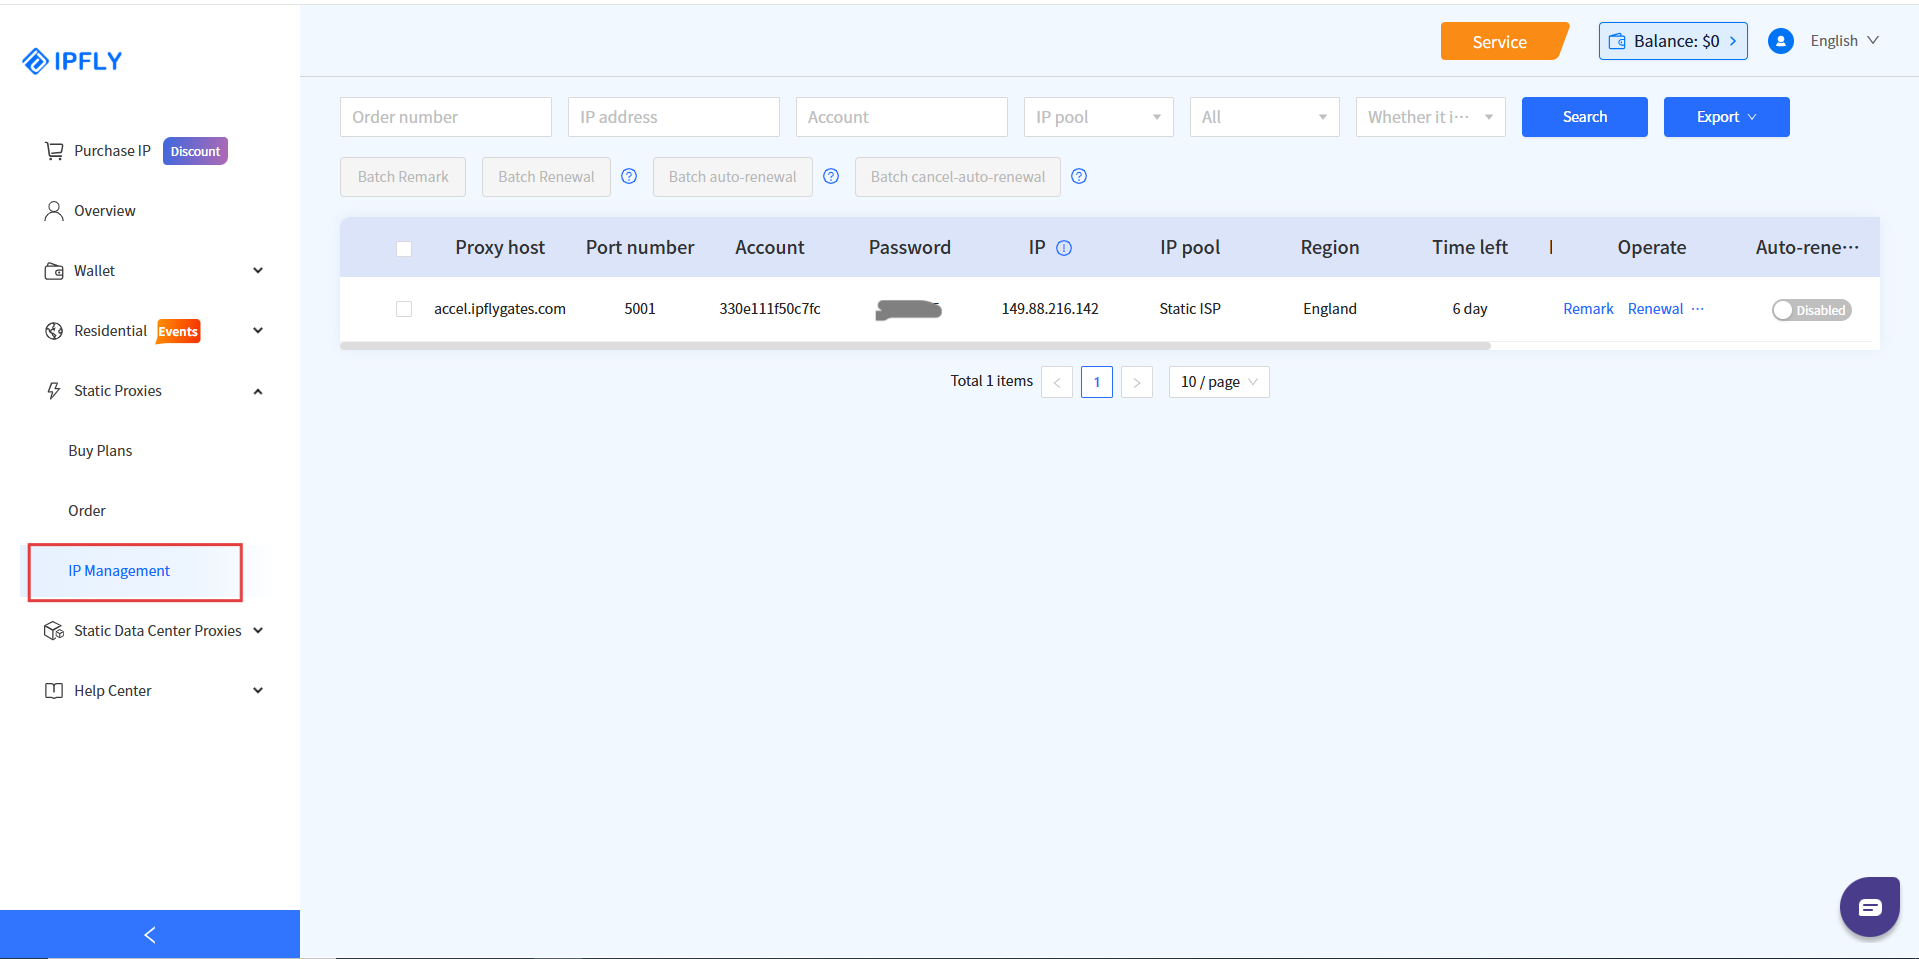
- After the payment is successful, the *proxy host-port number-account-password* and other information will be generated on the "IP Management" page
- Go to the Hubstudio official website and register an account

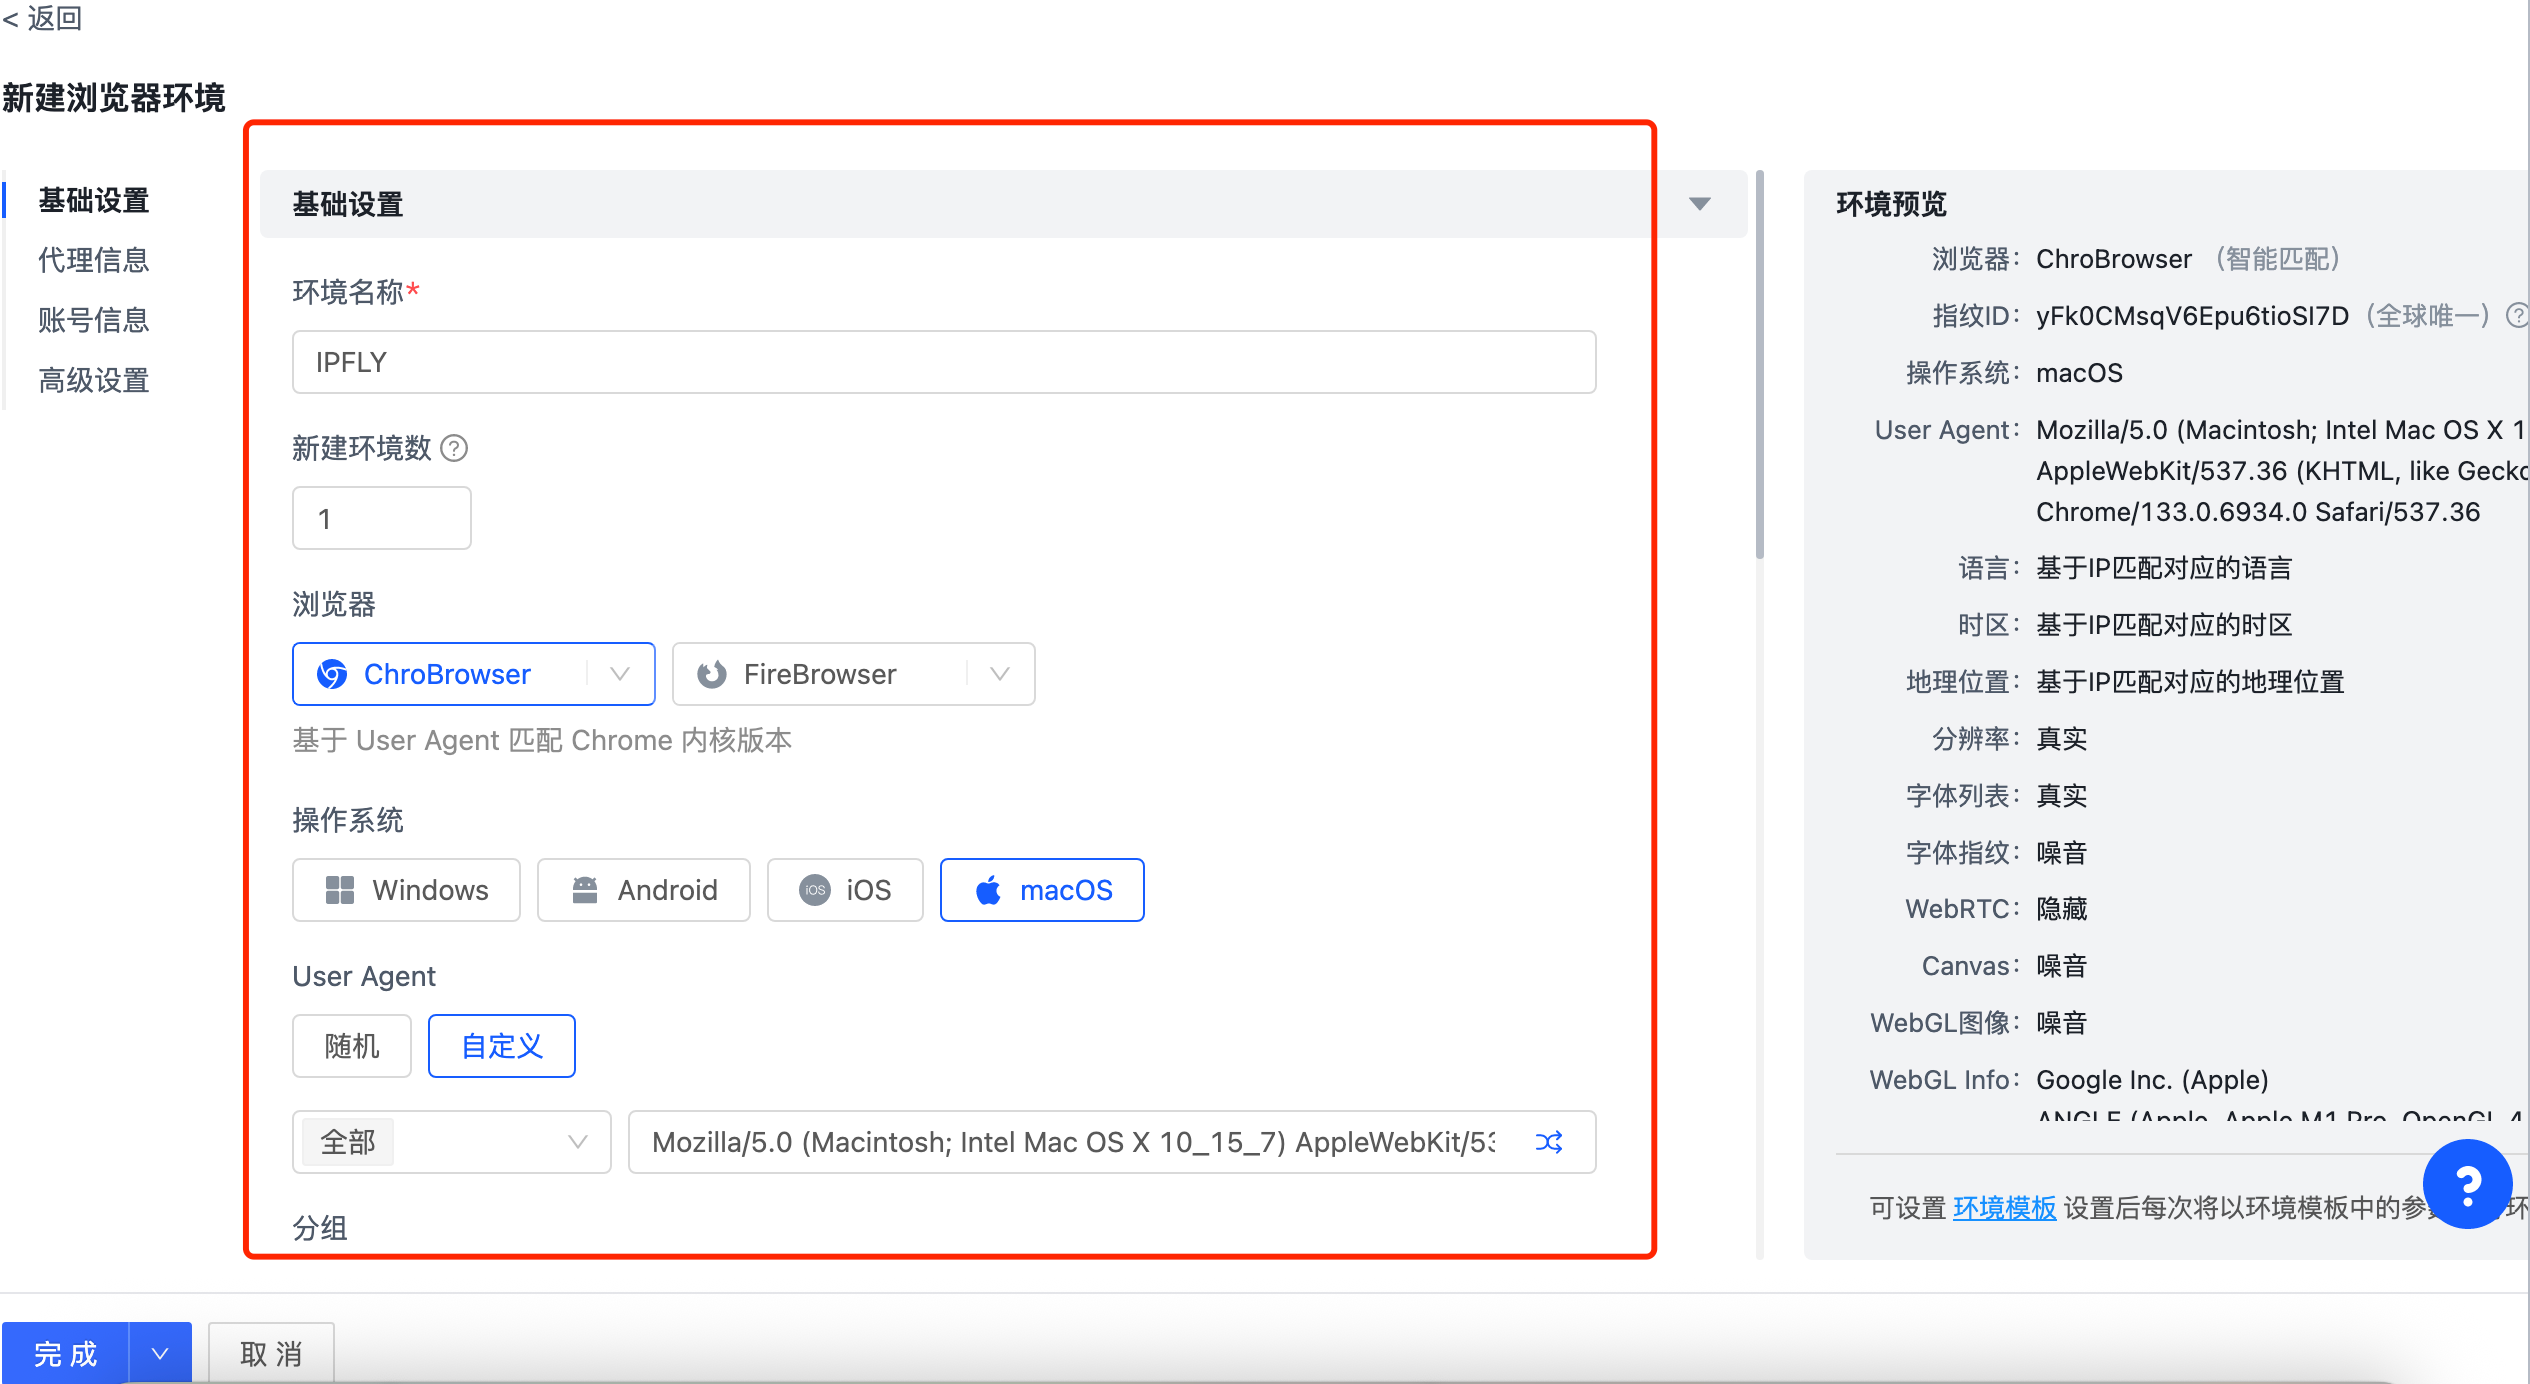
- Log in to the client and click "Create Environment" to complete the basic settings according to your own situation
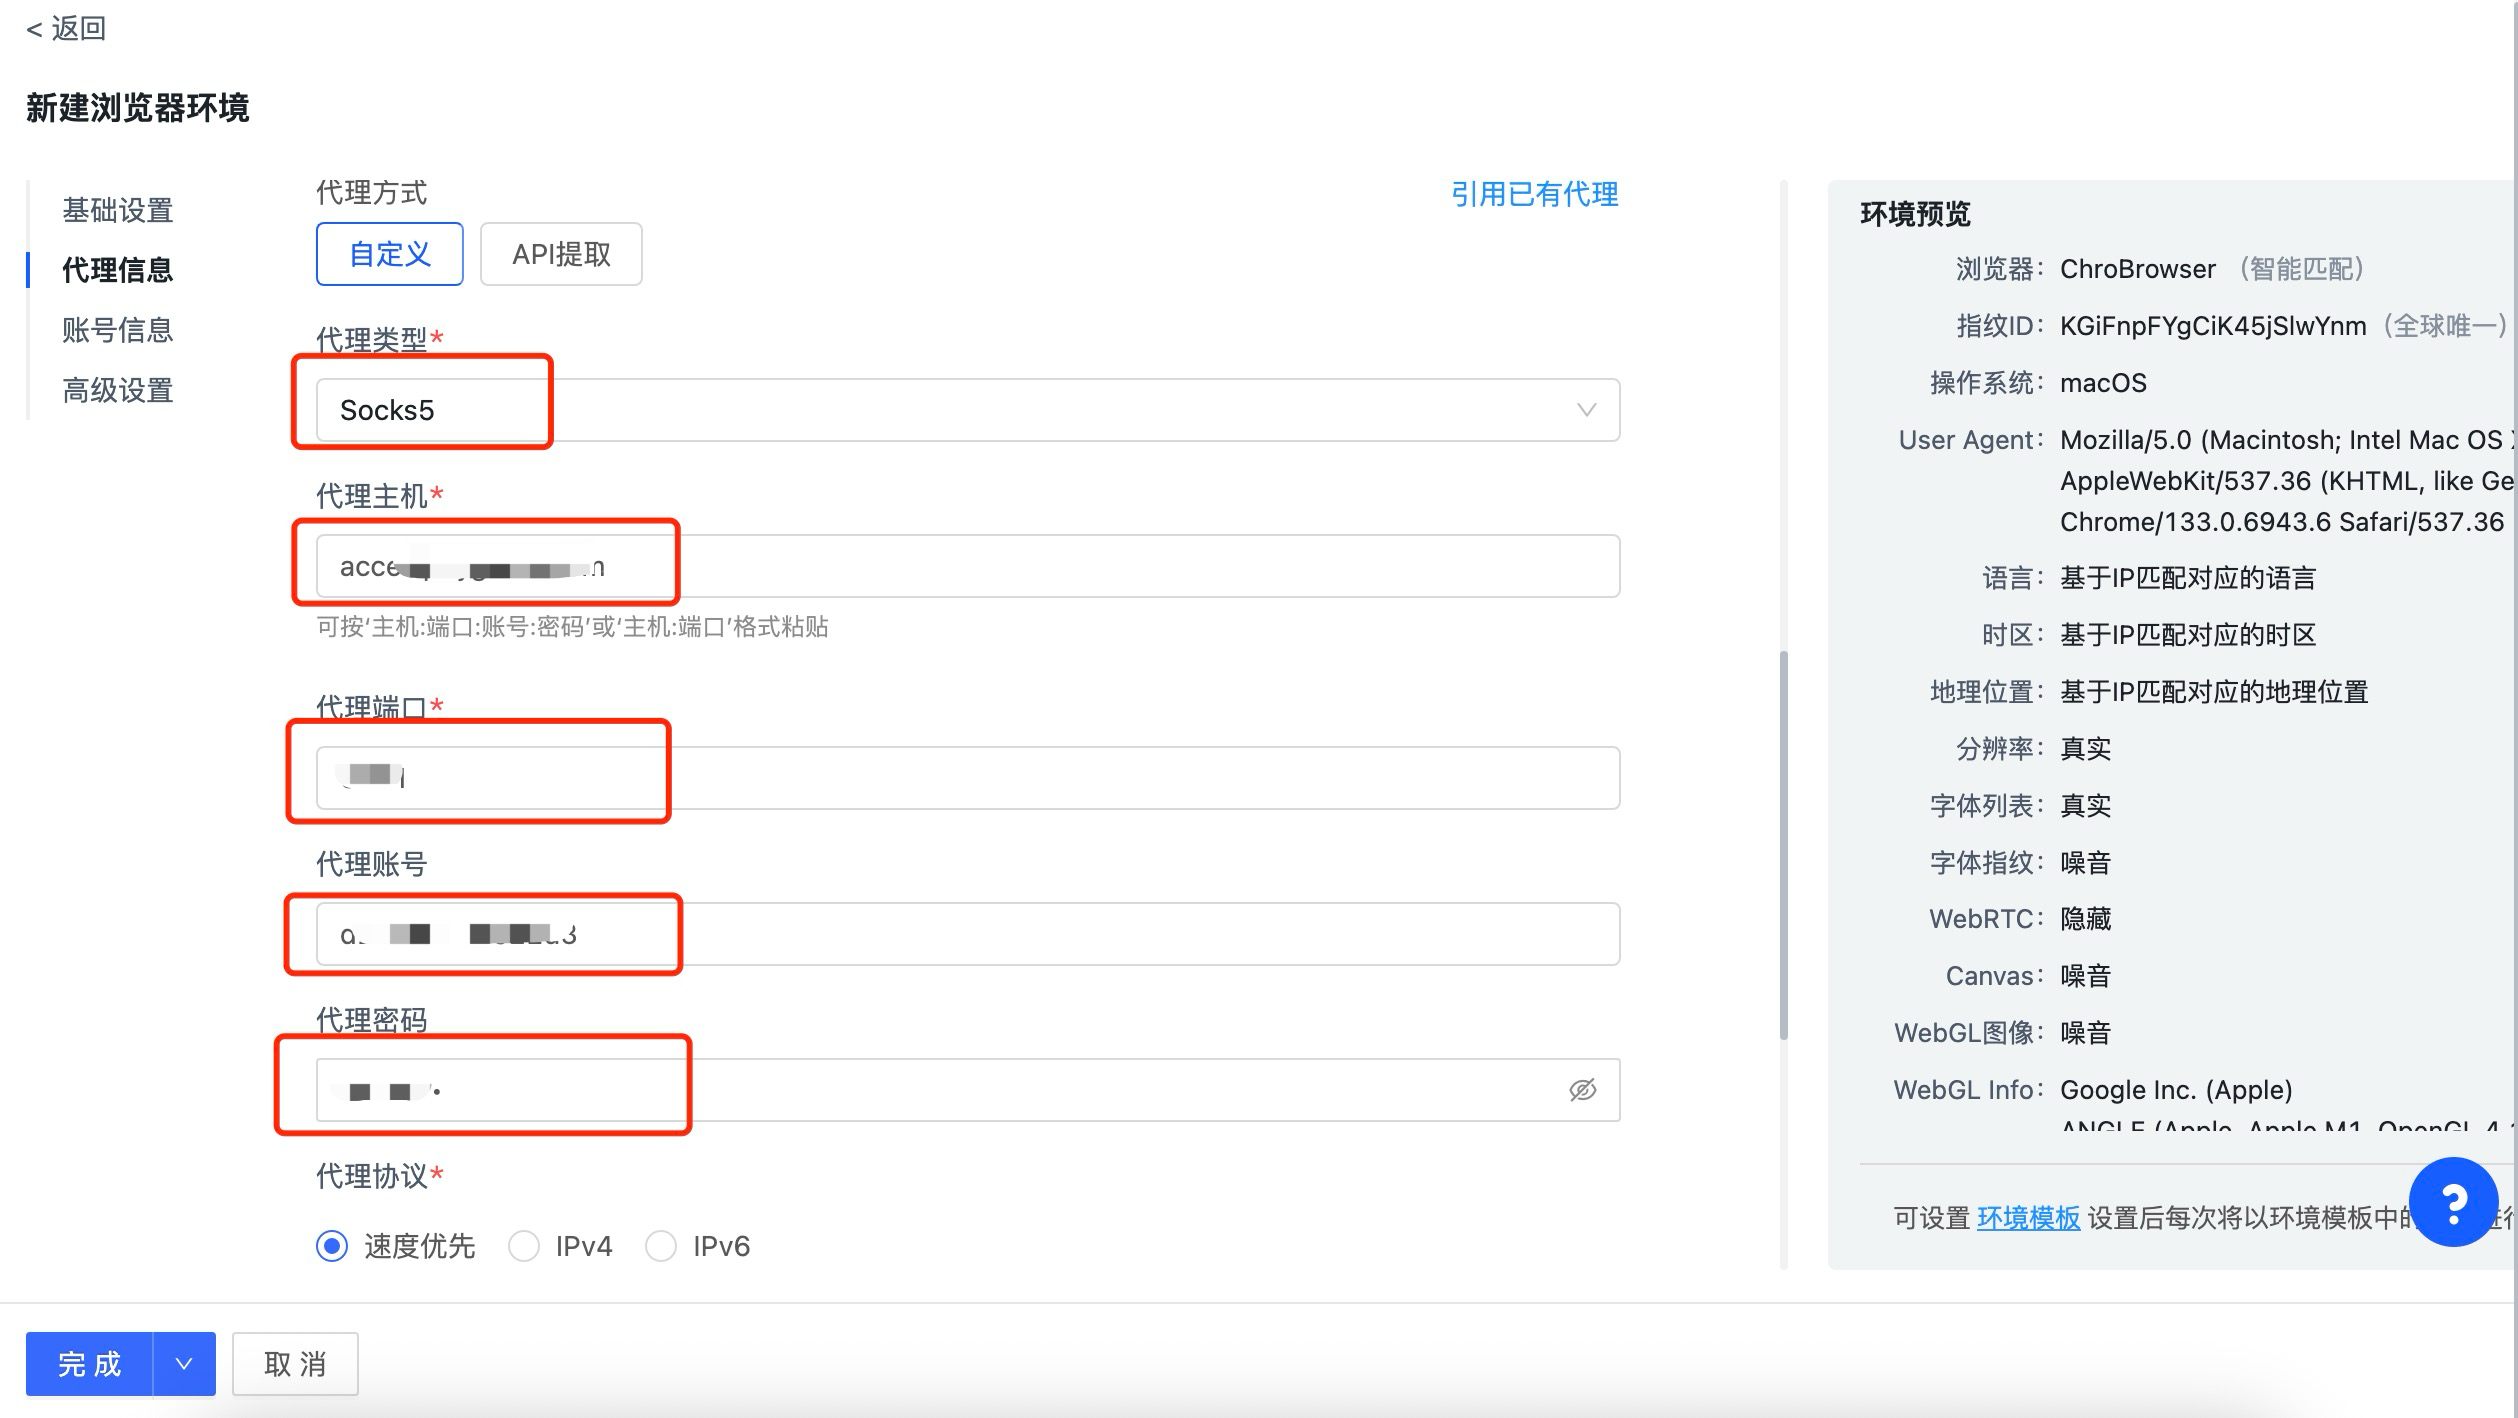
- Go to the proxy information configuration and fill in the proxy host-port number-account-password and other information generated on the "IP Management" page one by one
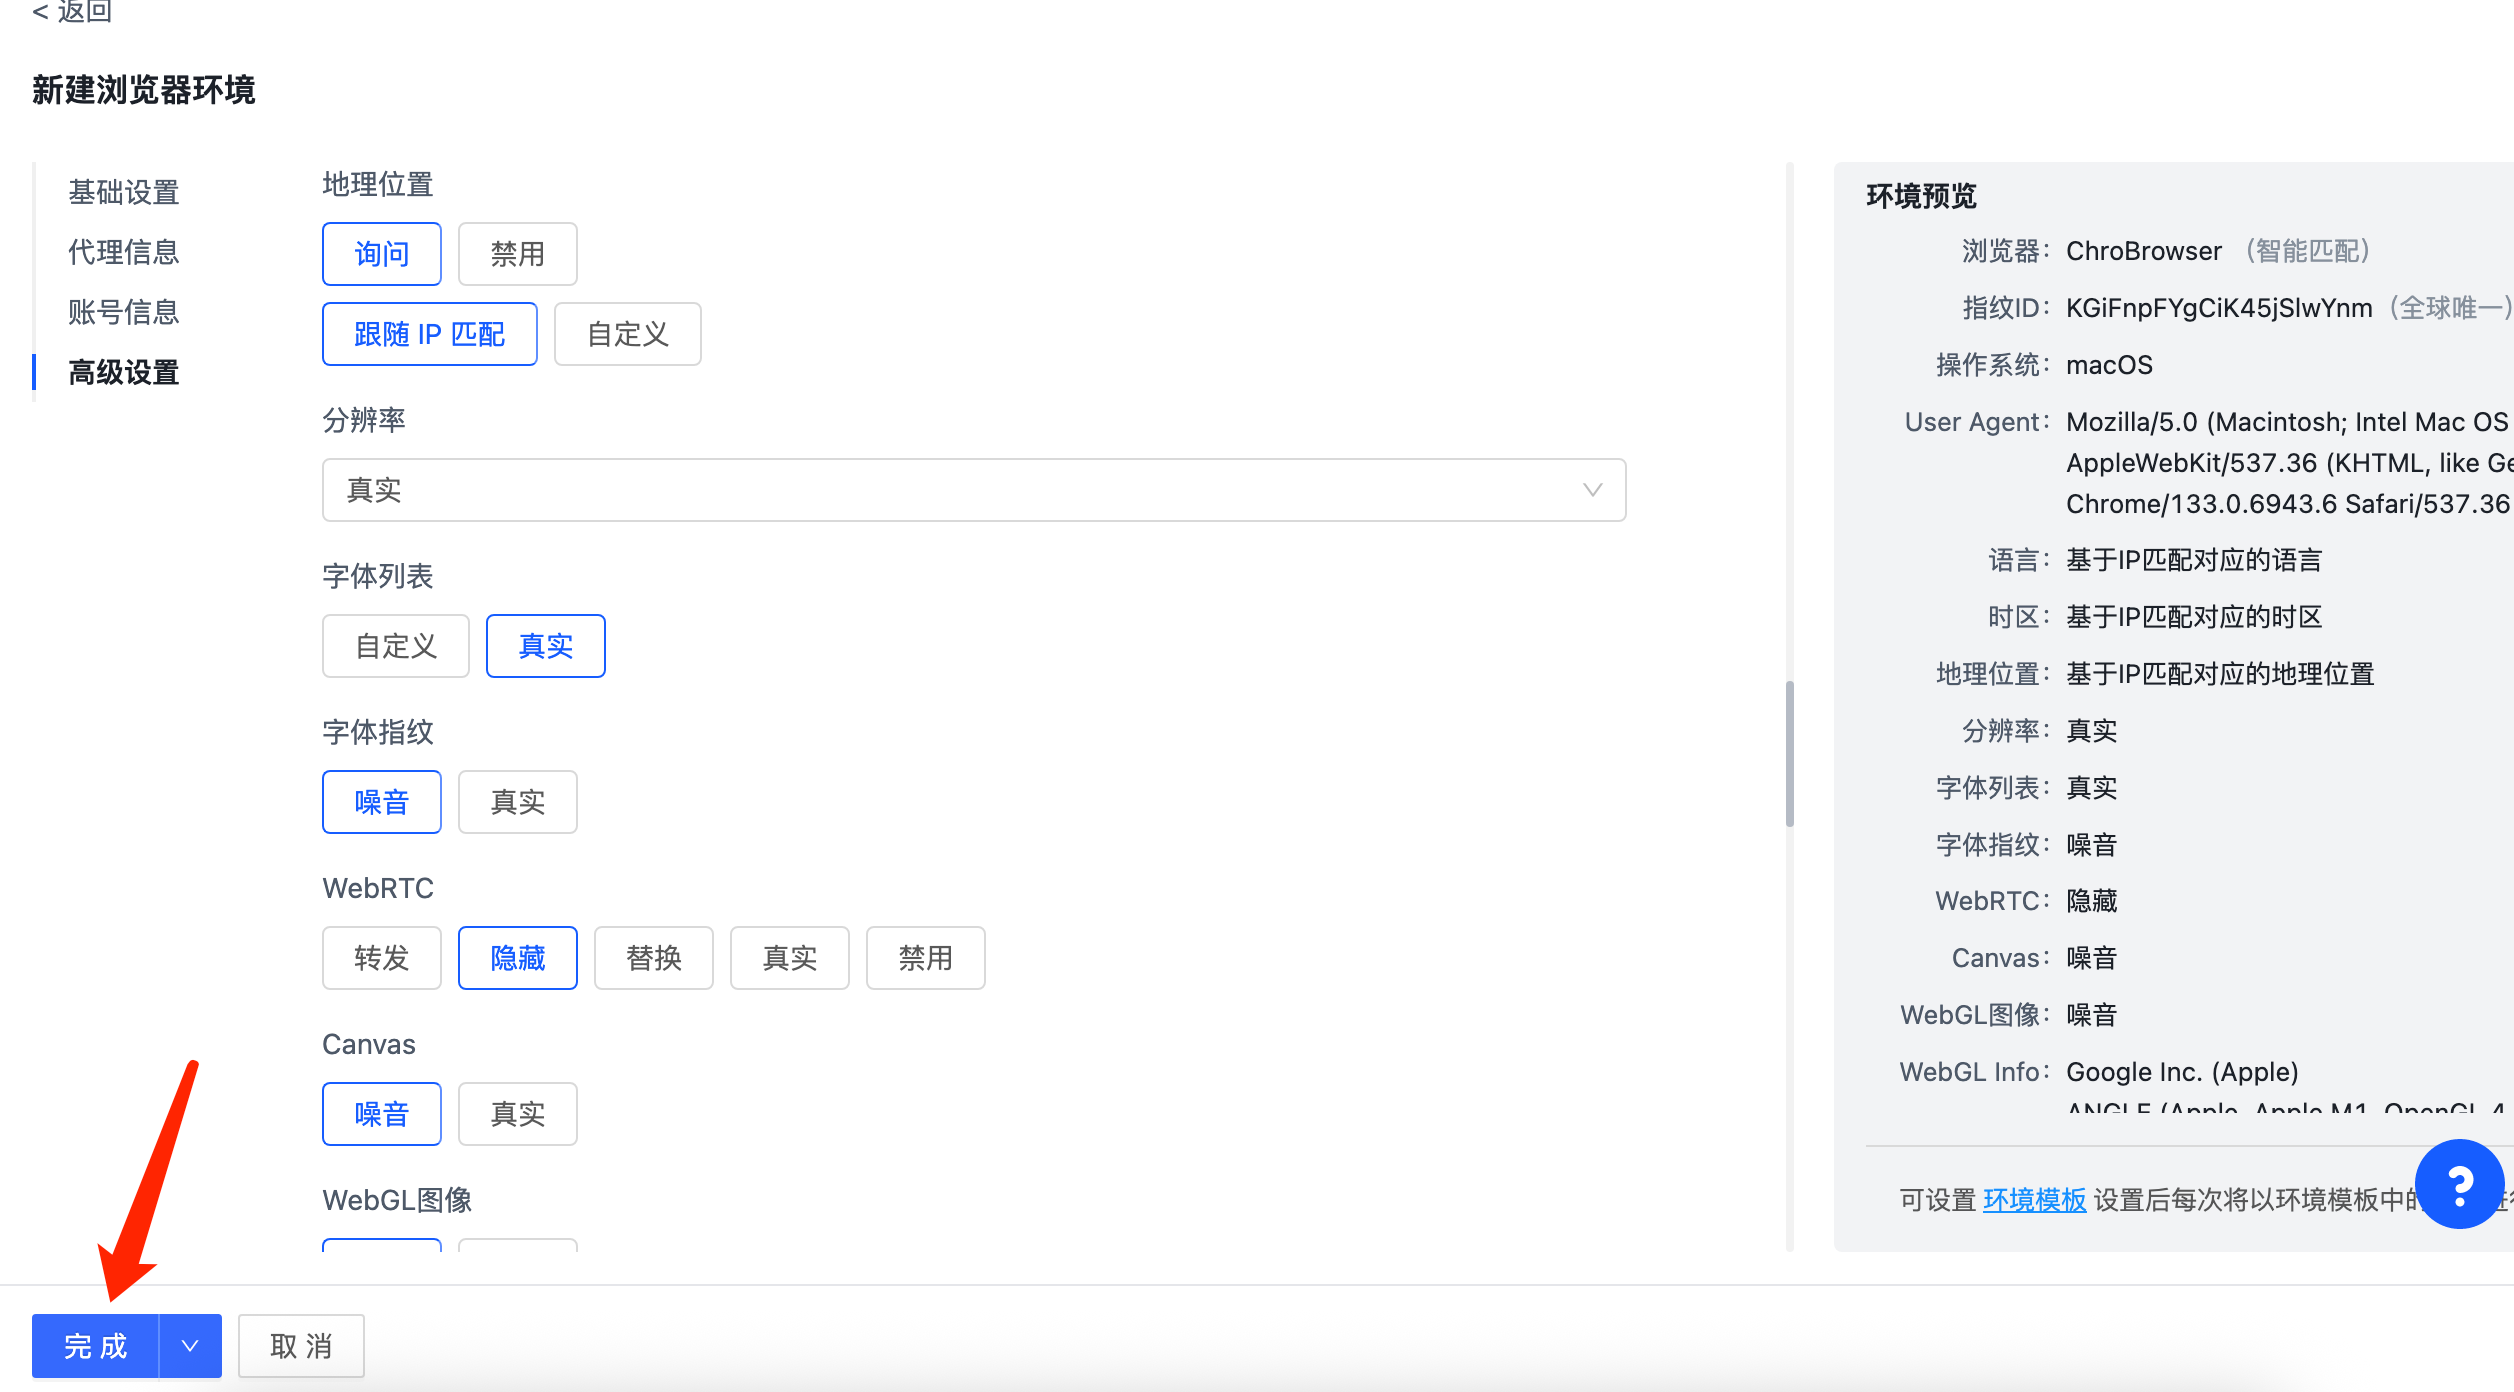
 8. After completing the account information and advanced settings of the browser environment, click "Finish"
From now on, the proxy configuration of IPFLY in Hubstudio is completed.